I am creating a TimeLapse for my stop motion assignment, my task is to plan and produce a animation of one of five techniques in the stop motion side of animation; cel based, model based, pixilation, cut out, and TimeLapse.
How it was made
Idea Generation.
When we got this assignment handed to use I did not know at all what to do or how it would work. So I needed brief ideas of what to do, one thing that I liked doing was TimeLapses. My first step was to look at how they were made, and what I would need to make one. I had a look on youtube and found this quite handy video:
(Link Location)
This video gives a few great and handy tips to making a TimeLapse and this is where I got most of my ideas, but not all of them:
(Link Location)
(Link Location)
(Link Location)
These videos to me are some of the best TimeLapses ever, not just because they are in 4K but because of the atmosphere around all of it, like the clouds in the beginning of the Norway of TimeLapse it just looks like something not real or in this world, to see clouds move that fast and that colour is a whole new thing. These videos gave me inspiration to create my own TimeLapse that of a type of scenic nature. However I did not have a camera that could shoot 4k or even 1080p for that matter but I gave it a try with my phone.
The lake one is similar to the Norway one, the clouds, but this one was more of a fog one which is kind of what I wished to capture in mine but I did not have the right equipment to do so; when I look at these TimeLapse I think of it something from a high budget movie and this gave me ideas to try and create my own atmospheric TimeLapse. Something that I haven't seen already, the sunset.
Before Editing(Link Location)
These videos to me are some of the best TimeLapses ever, not just because they are in 4K but because of the atmosphere around all of it, like the clouds in the beginning of the Norway of TimeLapse it just looks like something not real or in this world, to see clouds move that fast and that colour is a whole new thing. These videos gave me inspiration to create my own TimeLapse that of a type of scenic nature. However I did not have a camera that could shoot 4k or even 1080p for that matter but I gave it a try with my phone.
The lake one is similar to the Norway one, the clouds, but this one was more of a fog one which is kind of what I wished to capture in mine but I did not have the right equipment to do so; when I look at these TimeLapse I think of it something from a high budget movie and this gave me ideas to try and create my own atmospheric TimeLapse. Something that I haven't seen already, the sunset.
1.
The first stage to editing was uploading the footage and sounds, this was done by ingesting them into Adobe prelude and then send them to premiere by highlighting and right clicking.

2.
After the clips were finally in premiere I inserted a sequence from clip which is done by right clicking the clip and clicking sequence from clip, this made it so the dimensions would be the same as the clip dimensions.
After the clips were finally in premiere I inserted a sequence from clip which is done by right clicking the clip and clicking sequence from clip, this made it so the dimensions would be the same as the clip dimensions.
3.
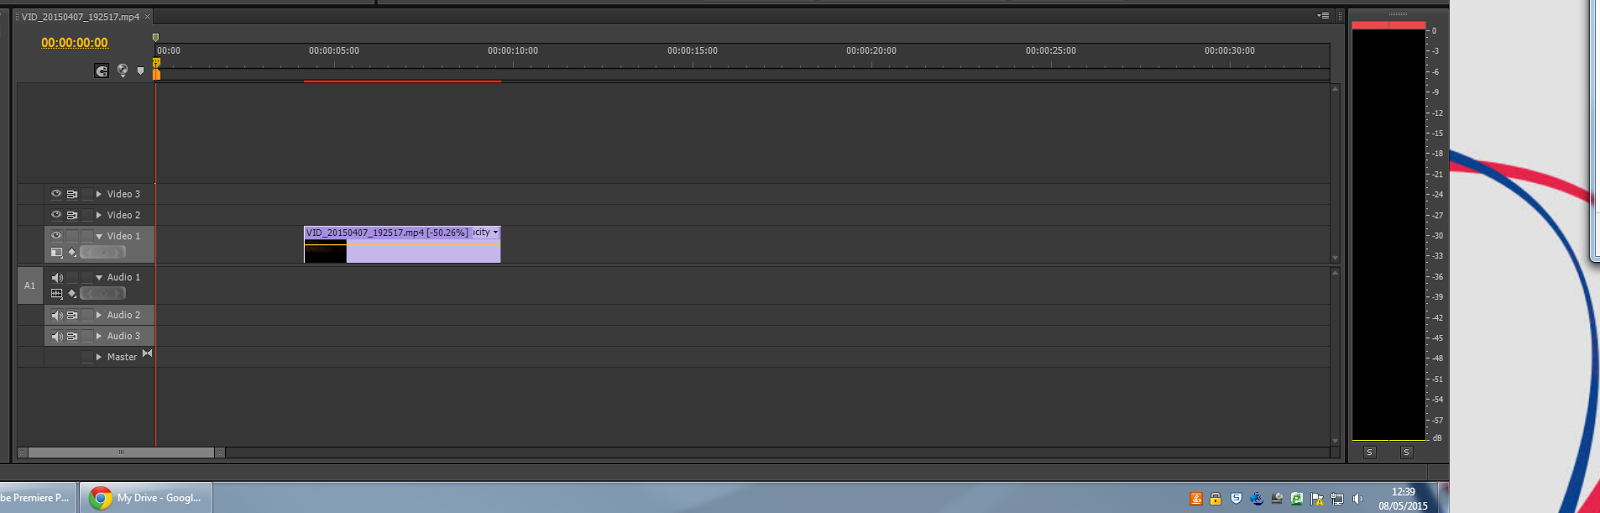
The next step was to adjust the speed to a suitable level so it didn't look like a TimeLapse also so it added additional time onto the video.
The next step was to adjust the speed to a suitable level so it didn't look like a TimeLapse also so it added additional time onto the video.

4.
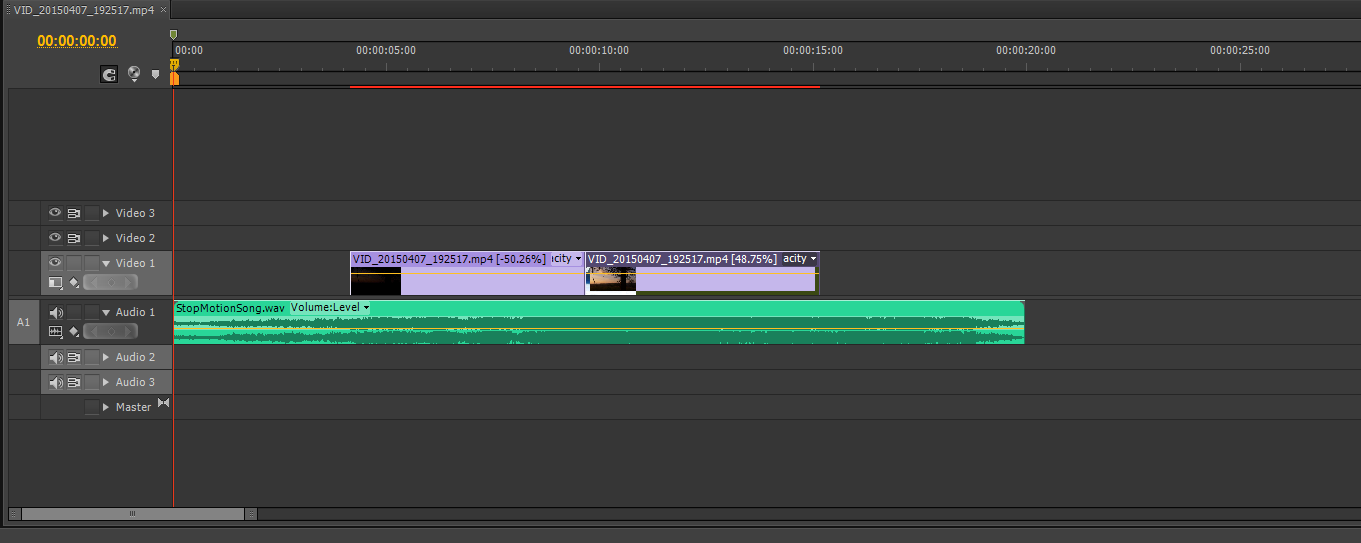
Since my original clip was only 4 seconds long and the adjusting the time was not enough I decided to duplicate the clip and reverse it at the same time, this was done by right clicking, duplicating and going to the same settings to adjust the time but click the reverse box.
Since my original clip was only 4 seconds long and the adjusting the time was not enough I decided to duplicate the clip and reverse it at the same time, this was done by right clicking, duplicating and going to the same settings to adjust the time but click the reverse box.

5.
As you can see there is a box called Reverse Speed, this is what i clicked to reverse the clip and make it the opposite way it was played before.
As you can see there is a box called Reverse Speed, this is what i clicked to reverse the clip and make it the opposite way it was played before.

6.
One of the most important steps was the audio, I grabbed an non-copyrighted song off youtube, this was Hans Zimmer. This song was over an hour long but I only needed 20 seconds and cutting it in premiere just wouldn't do, so I imported the audio file into Adobe Audition and cut it all down to a suitable time and place in the song.
One of the most important steps was the audio, I grabbed an non-copyrighted song off youtube, this was Hans Zimmer. This song was over an hour long but I only needed 20 seconds and cutting it in premiere just wouldn't do, so I imported the audio file into Adobe Audition and cut it all down to a suitable time and place in the song.

7.
The next step was to import the file back into premiere. To do this I just dragged the file from the desktop onto the media browser and that was the clip imported.
The next step was to import the file back into premiere. To do this I just dragged the file from the desktop onto the media browser and that was the clip imported.
8.
The final steps to editing the animation was inserting an intro and outro title. To do this I made a title file and inserted the text I needed.
The final steps to editing the animation was inserting an intro and outro title. To do this I made a title file and inserted the text I needed.

9.
To make the text move I went on effect controls > Motion then clicked the start of the track and pressed the keypoint button to insert a keypoint then an end point and making the position of the track at the different points of the keypoints, and it automatically makes it into a motion clip.
To make the text move I went on effect controls > Motion then clicked the start of the track and pressed the keypoint button to insert a keypoint then an end point and making the position of the track at the different points of the keypoints, and it automatically makes it into a motion clip.

10.
After that I did the same steps as number 9 but with different text.
After that I did the same steps as number 9 but with different text.

11.
This is the same step as number 9 and 10
This is the same step as number 9 and 10

12.
The difference between this title and the other is that I changed the direction in which the text goes the other went across whereas this one went down.
The difference between this title and the other is that I changed the direction in which the text goes the other went across whereas this one went down.

13.
After that I dragged the text files from the media browser and into the media sequence which blended almost perfectly with the audio.
After that I dragged the text files from the media browser and into the media sequence which blended almost perfectly with the audio.

14.
In Audition I had to change the levels of audio because it was too loud.
In Audition I had to change the levels of audio because it was too loud.

15.
To do this I simply highlighted parts of the clip then right click and changed the DB levels on it.
To do this I simply highlighted parts of the clip then right click and changed the DB levels on it.

16.
My final step was to export the sequence into a movie.
My final step was to export the sequence into a movie.

17.
I had to choose a destination for the video file to go, before the editing I mad a file on the M: drive on the college computers where all of the Premiere files are to be stored so I simply left it to export in that folder.
I had to choose a destination for the video file to go, before the editing I mad a file on the M: drive on the college computers where all of the Premiere files are to be stored so I simply left it to export in that folder.

18.
When you export you get one of these screens, it lets you select different preferences to export in, the file format, the width and height to export, the time to export, etc. so I just made the settings to my liking and hit export.
When you export you get one of these screens, it lets you select different preferences to export in, the file format, the width and height to export, the time to export, etc. so I just made the settings to my liking and hit export.

19.
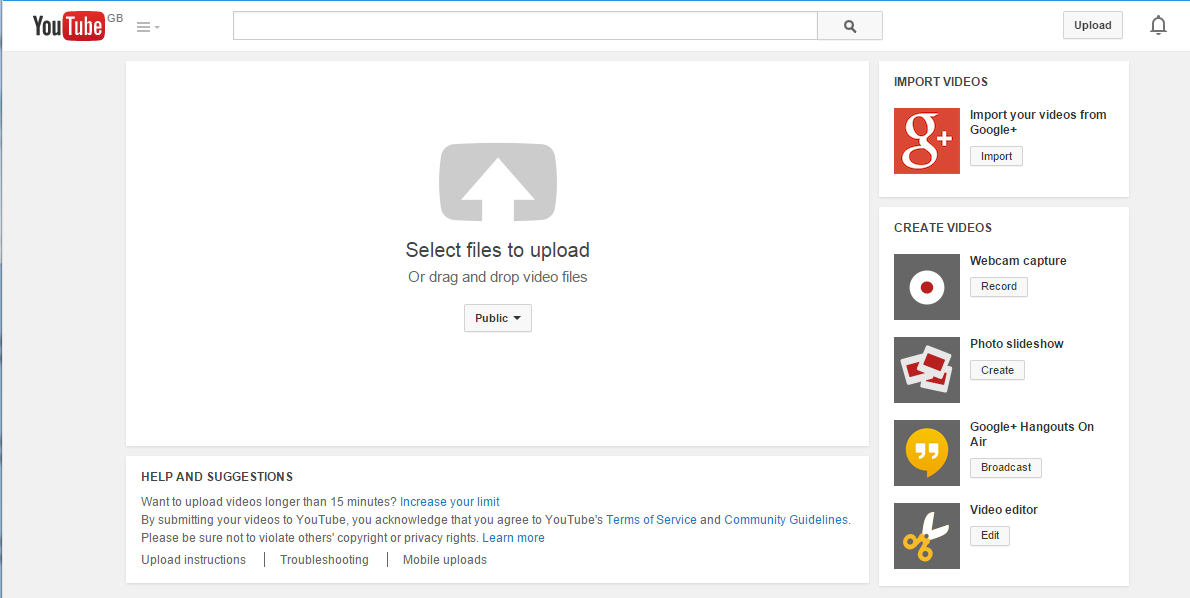
After I had done that I uploaded the file to youtube and once it had been uploaded then it was ready to go into this blog.
After I had done that I uploaded the file to youtube and once it had been uploaded then it was ready to go into this blog.
No comments:
Post a Comment