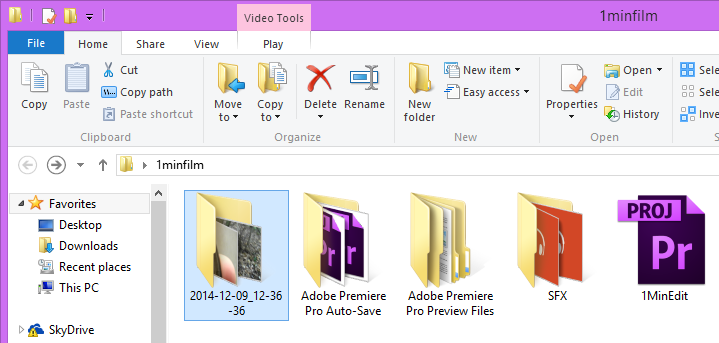
The first step I did to editing my 1 minute film was making a location for all the files, files such as the premiere pro save, the film itself, the clips from the film, and the sound effects for the film.

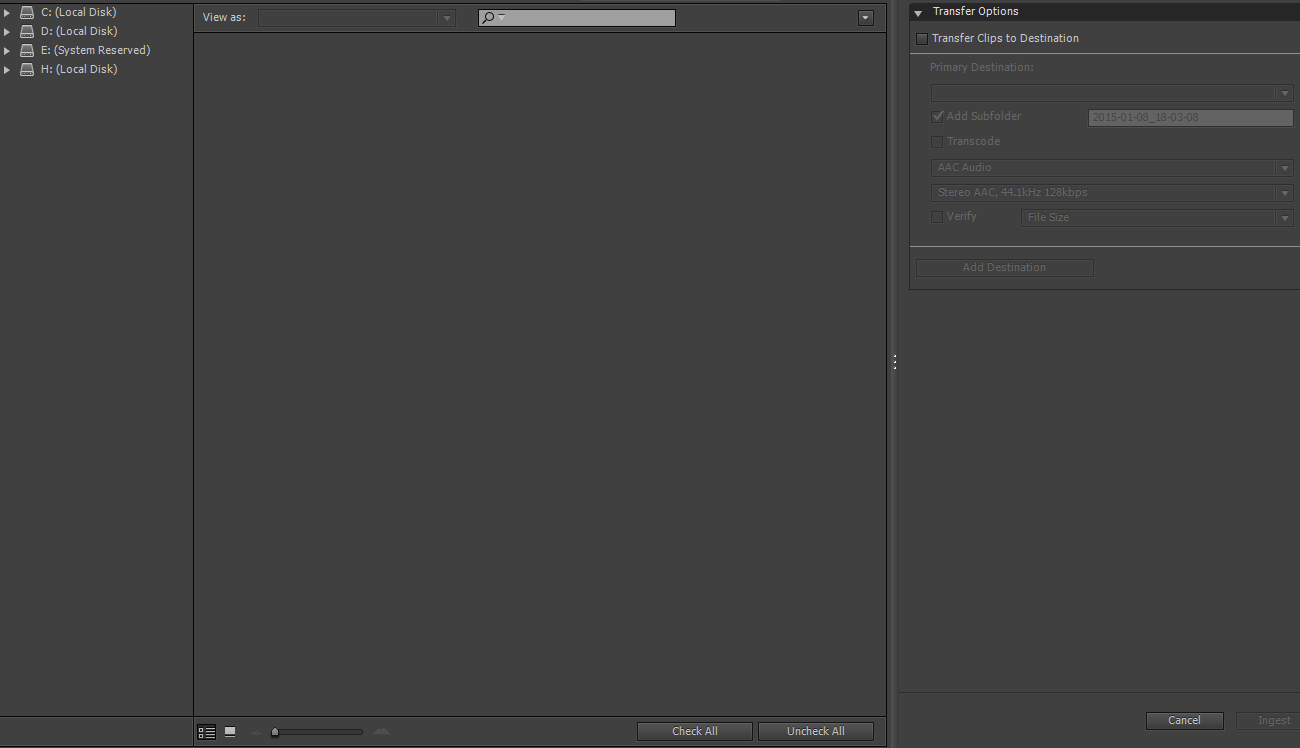
After I had the locations sorted I opened up Adobe Prelude and clicked the Ingest button at the top of the page shown in the screenshot above, once I went through into the folder with the clips I clicked check all then chose the destination of the clips by clicking Transfer files to destination.

Once the clips were ingested i hit file > send to premiere pro > new project. After that was done it imported the clips into premiere pro, however it did not create the sequence and did not have the two black screen videos as it shows above.

In the screenshot above above with the blue ring I created a new sequence by clicking on that option. The easier way to create a sequence is to drag a video from the project folder to the left into the blank screen on the right where the sequence is. This will create a sequence for you with all the right resolutions thats applied to the clip.
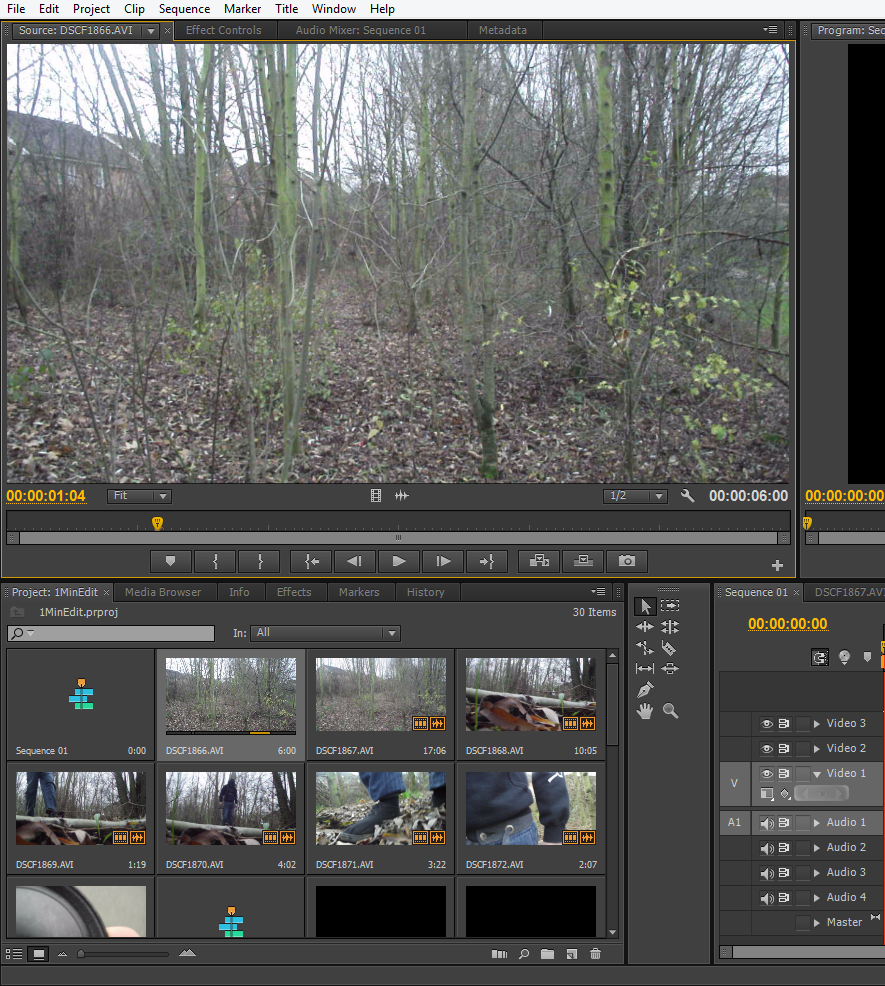
for the next stage i began editing the clips which i brought up on the clip screen to the top left of the screenshot above. I chose an input and output of the clip and hit the full stop on the keyboard to import it into the sequence.

When I finished editing the clips and placed them all on the timeline in the correct order, I used a fade in fade out transition on some of the clips to give a blinking illusion as though the audience were in the eyes of the actor, as though they were the actor.
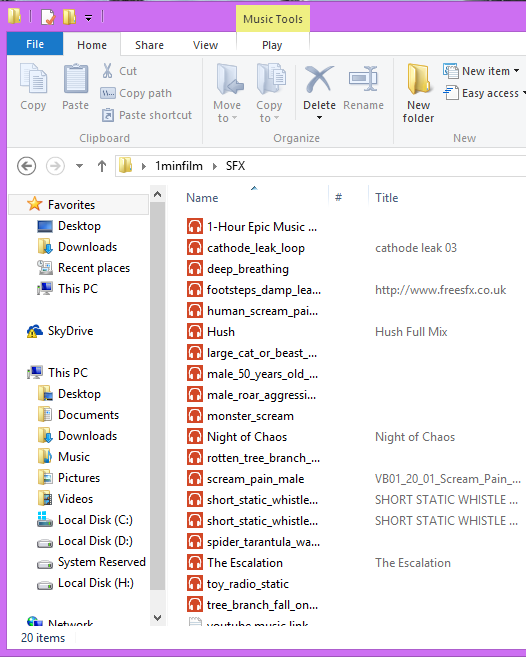
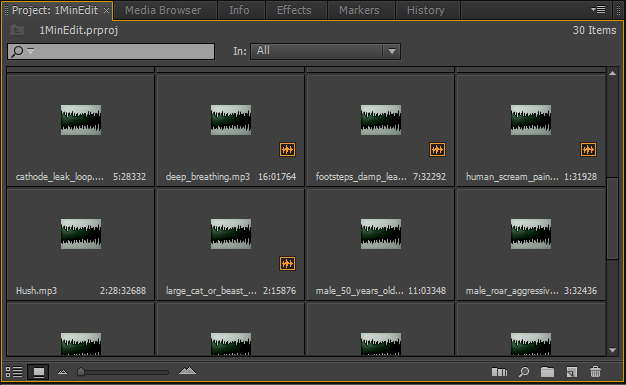
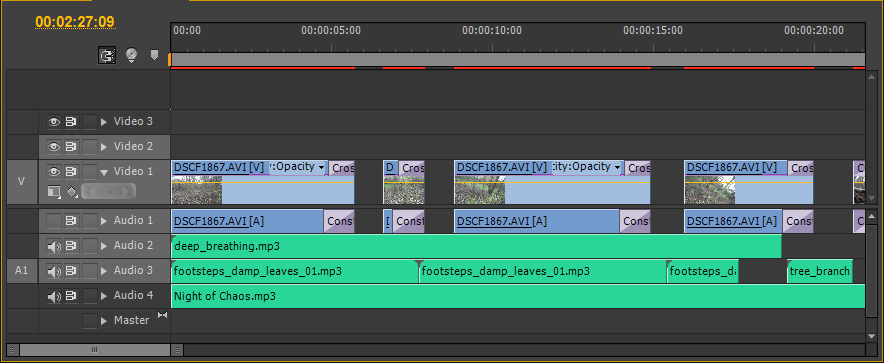
These three screenshots show the location of the clips, the project browser they went into once imported and where they were cut down to on the timeline. Some of the sound and music imported was too high on dB so I changed the levels by right clicking the clip and then clicking Audio gain.
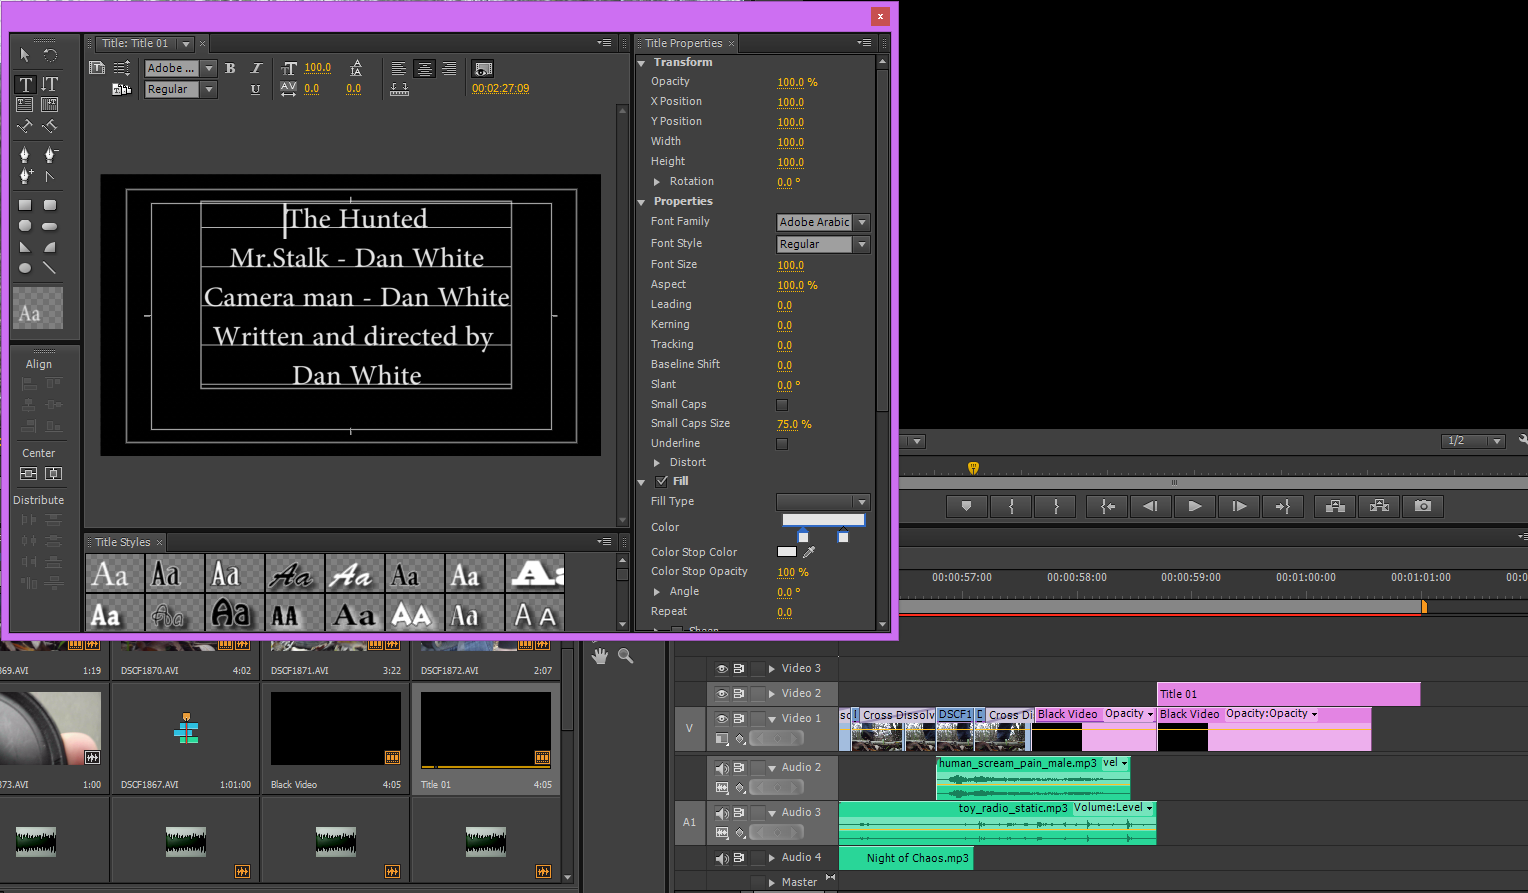
The final stages of the editing was adding the black video and the text/ credits. This was done by adding a new item from the project browser and clicking title. If you click the black video option it will make the black video then its just adding the title, the location of the title and how it moves.
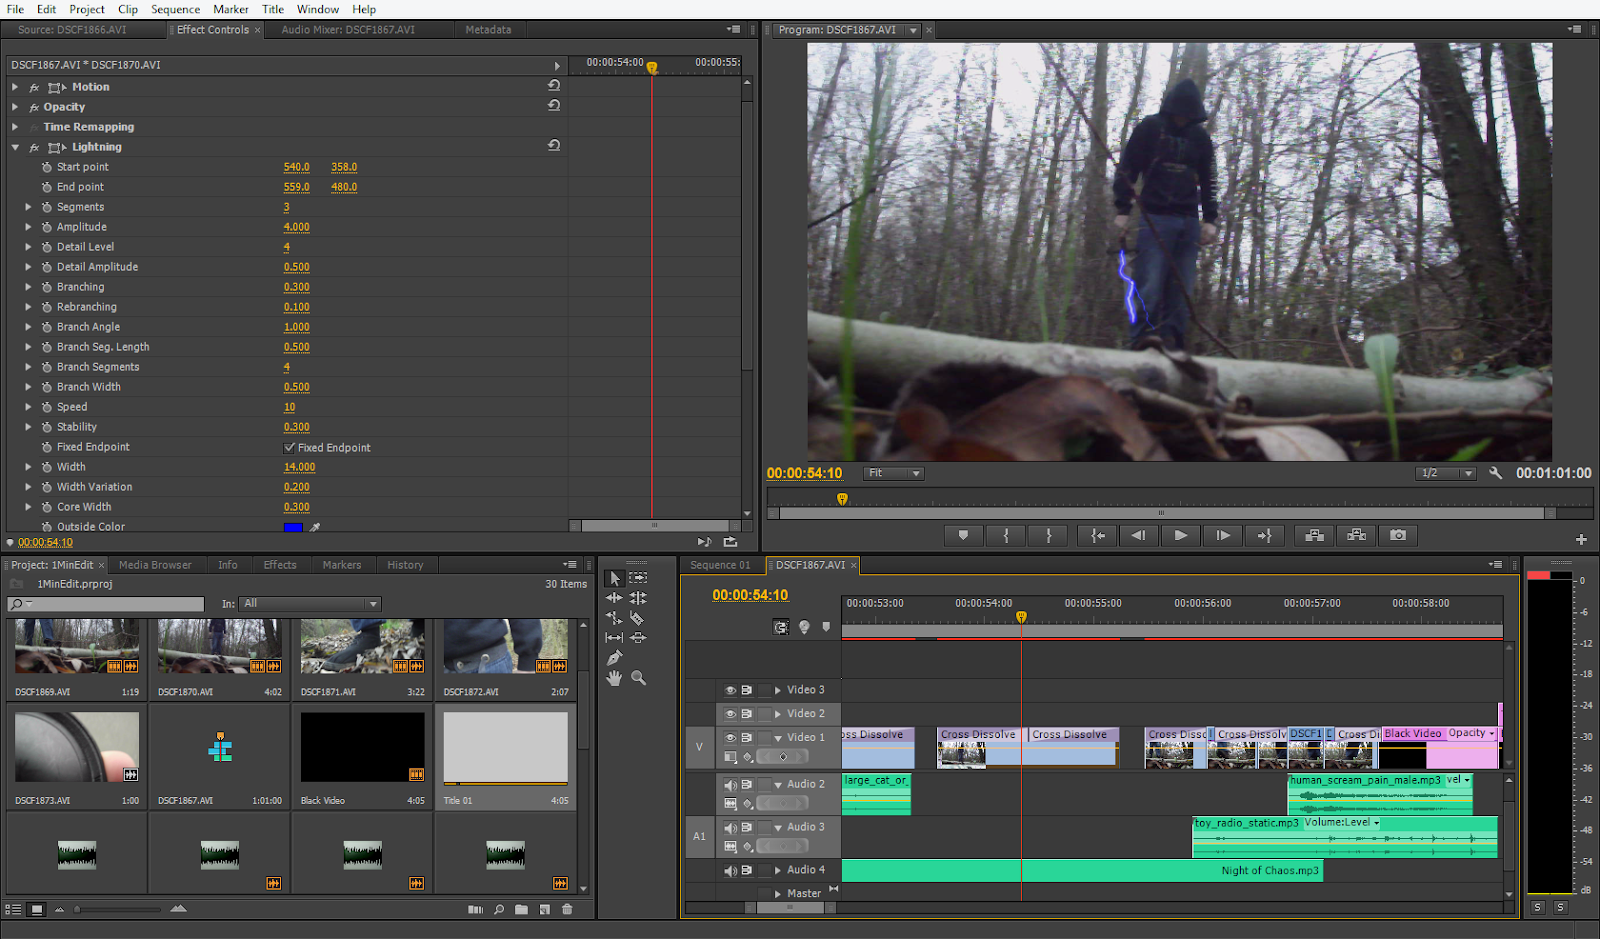
A finishing touch was adding a lightning effect to a prop in the film, you can do this by going into effect on the effects panel then typing lightning on the clip you have highlighted. All thats left to do after that is change the variations of the effect in effect controls and apply it to the right position in the clip.
No comments:
Post a Comment